Get Started: Register MNIST 5s
The code in this tutorial is available as a colab notebook
To learn to use ICON, we will train a model that registers pictures of the number 5 from the MNIST dataset.
First create and activate some sort of virtual environment, and install torch into it going by the official instructions
Next, install icon_registration
$ pip install icon_registration
Next, create a git repo and import the code we need from icon.
import icon_registration as icon
import icon_registration.data
import icon_registration.networks as networks
from icon_registration.config import device

import numpy as np
import torch
import torchvision.utils
import matplotlib.pyplot as plt
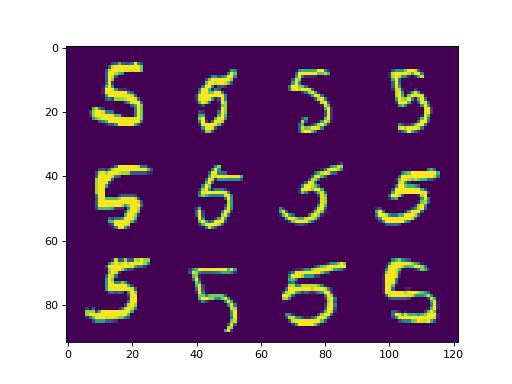
The function icon_registration.data.get_dataset_mnist() will give as a dataset of digits from MNIST filtered to only one number: this is useful for registration experiments, since there is a correct semantic map between two pictures of 5, but not between 5 and 8.
ds, _ = icon_registration.data.get_dataset_mnist(split="train", number=5)

sample_batch = next(iter(ds))[0]
plt.imshow(torchvision.utils.make_grid(sample_batch[:12], nrow=4)[0])
Next, we want to create a network to train. This will be a tree of RegistrationModule : These are basically the lego blocks for building registration models in ICON.
inner_net = icon.FunctionFromVectorField(networks.tallUNet2(dimension=2))

for _ in range(3):
     inner_net = icon.TwoStepRegistration(
         icon.DownsampleRegistration(inner_net, dimension=2),
         icon.FunctionFromVectorField(networks.tallUNet2(dimension=2))
     )

net = icon.GradientICON(inner_net, icon.LNCC(sigma=4), lmbda=.5)
A fundamental concept in ICON is that each icon_registration.network_wrappers.RegistrationModule has an associated identity_map tensor that contains the coordinates of each pixel. We can correctly set these identity maps for the whole tree as follows:
net.assign_identity_map(sample_batch.shape)
Notably, as this walks the tree, children of icon_registration.network_wrappers.DownsampleRegistration have appropriately lower resolution identity_map s.
All that remains is to train the network!
net.train()
net.to(device)
optim = torch.optim.Adam(net.parameters(), lr=0.001)
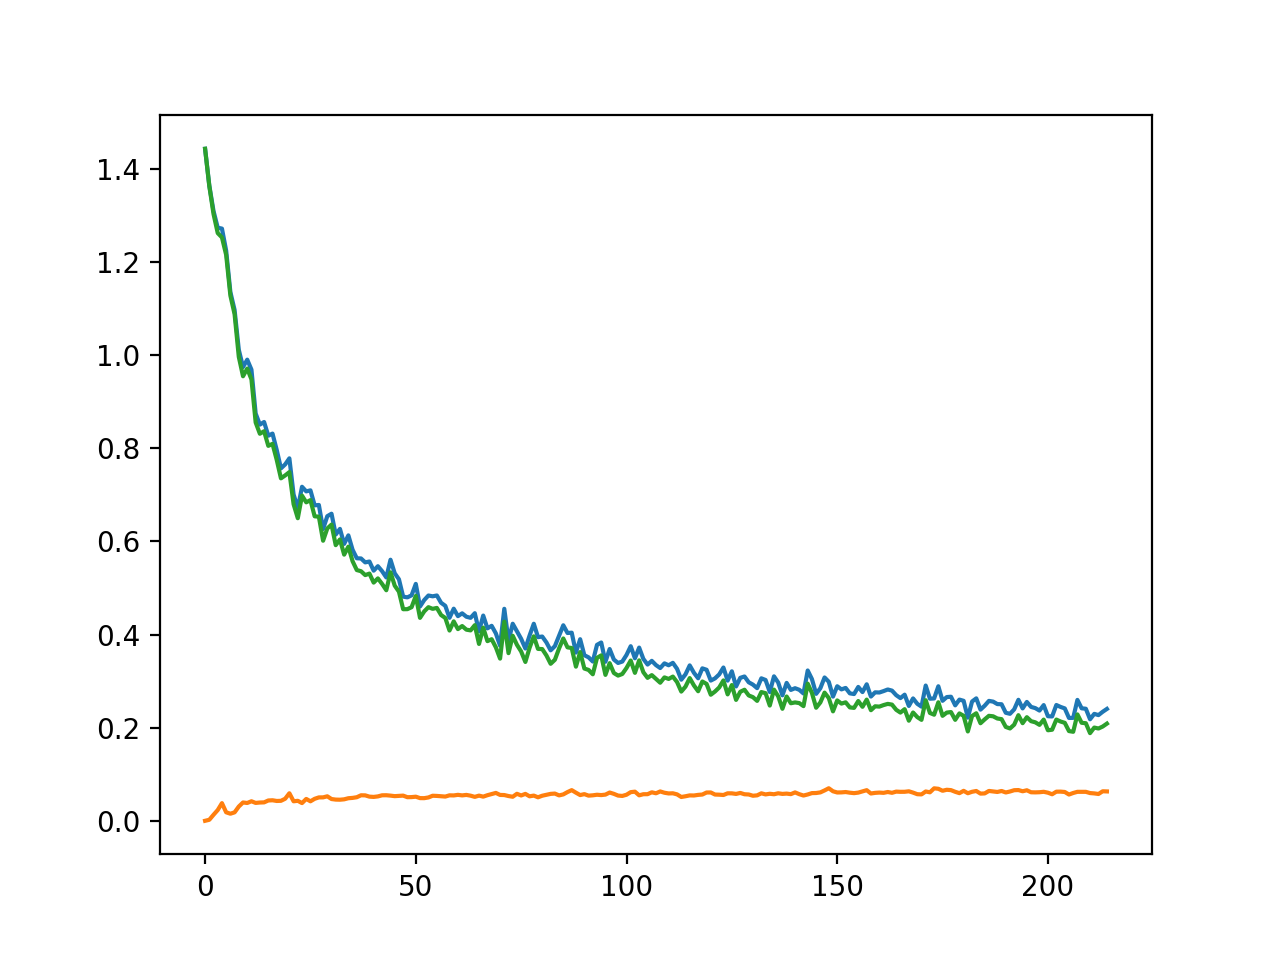
curves = icon.train_datasets(net, optim, ds, ds, epochs=5)
plt.close()
plt.plot(np.array(curves)[:, :3])
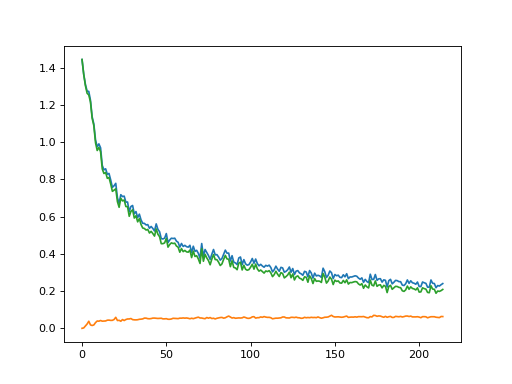
This training is cheap to run, taking about 1 minute on a GPU, or 10 minutes on CPU: In fact, we train the network on readthedocs’ servers to generate the following figures:
plt.close()
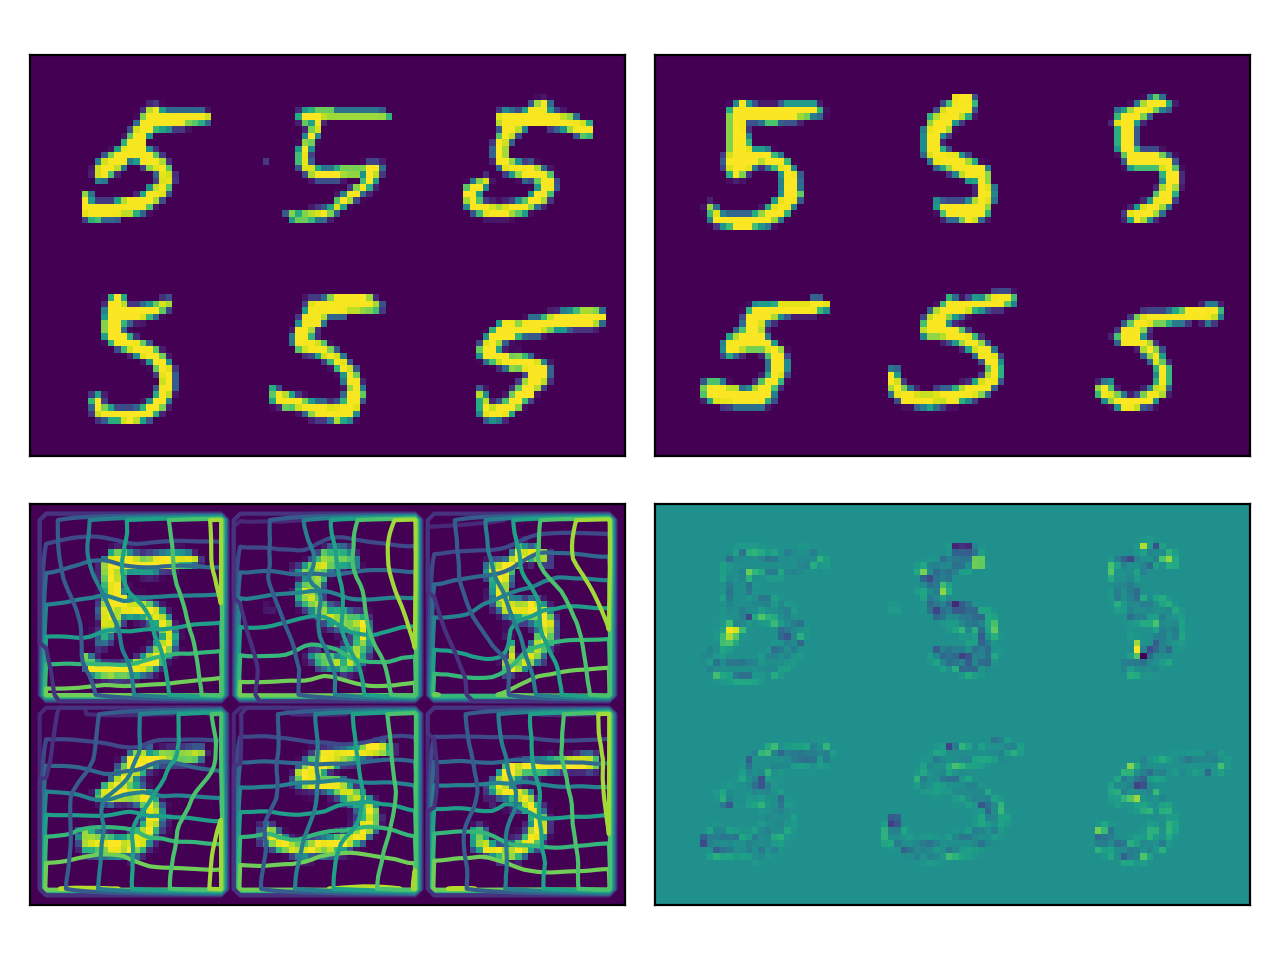
def show(tensor):
plt.imshow(torchvision.utils.make_grid(tensor[:6], nrow=3)[0].cpu().detach())
plt.xticks([])
plt.yticks([])
image_A = next(iter(ds))[0].to(device)
image_B = next(iter(ds))[0].to(device)
net(image_A, image_B)
plt.subplot(2, 2, 1)
show(image_A)
plt.subplot(2, 2, 2)
show(image_B)
plt.subplot(2, 2, 3)
show(net.warped_image_A)
plt.contour(torchvision.utils.make_grid(net.phi_AB_vectorfield[:6], nrow=3)[0].cpu().detach())
plt.contour(torchvision.utils.make_grid(net.phi_AB_vectorfield[:6], nrow=3)[1].cpu().detach())
plt.subplot(2, 2, 4)
show(net.warped_image_A - image_B)
plt.tight_layout()
